
Updated July 2026
How to Measure Windows for Blinds (Inside vs Outside Mount)
Record the opening accurately, but let the selected product's instructions decide the final ordering size.
By Fatih, Shine Shadow · Published · Updated
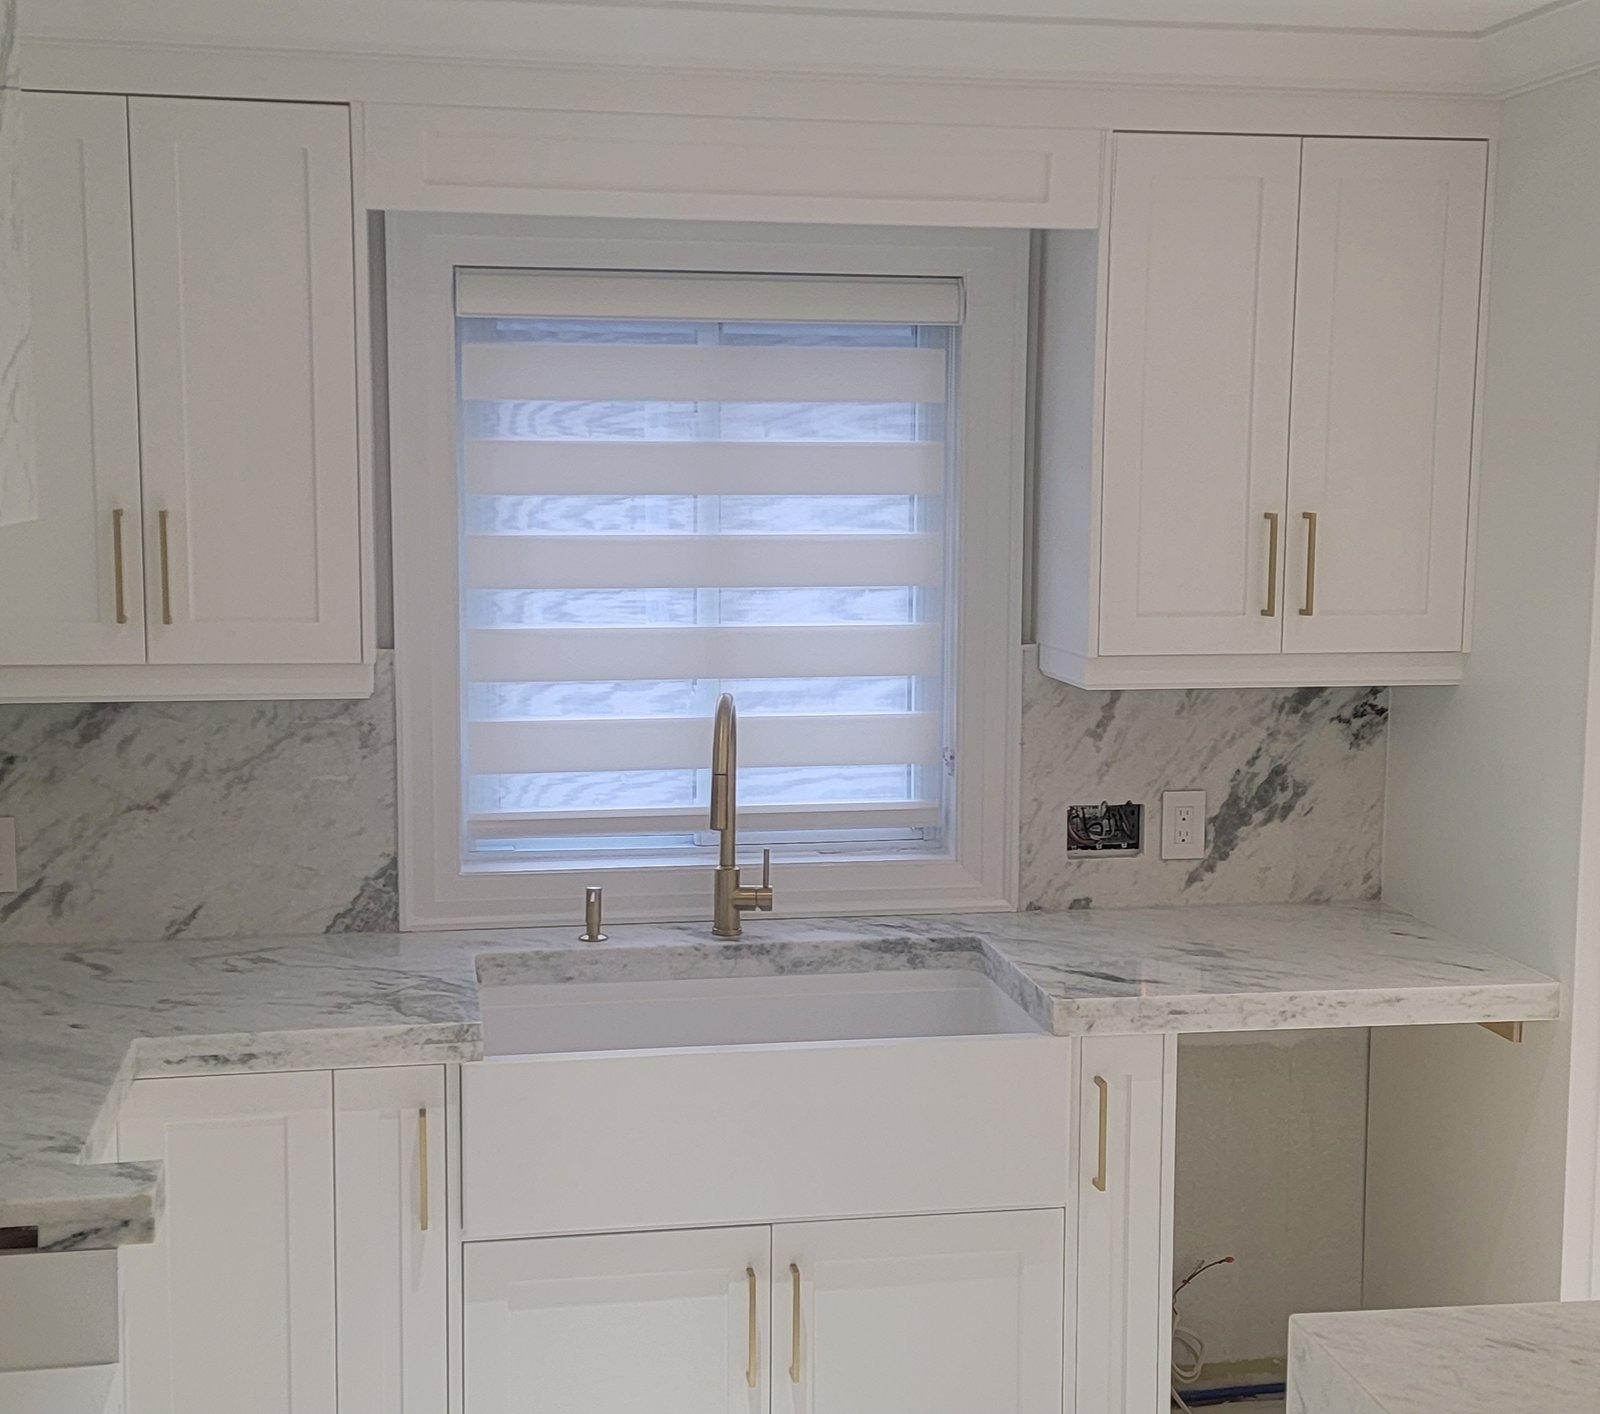
For an inside mount, measure the opening at several points and check that the selected blind's hardware fits its usable depth. For an outside mount, measure the intended coverage area and ensure it clears handles, trim and moving doors. Keep the raw measurements and follow the specific manufacturer's ordering instructions rather than making a universal deduction.
These steps help you prepare for a quote, not guarantee a DIY fit for every product. Shine & Shadow is owner-operated from Ajax and offers free in-home measuring in Pickering, Whitby, Oshawa and across the Greater Toronto Area, so you do not have to take responsibility for unfamiliar custom-sizing rules.
Inside and outside mounts compared
An inside mount sits within the opening and leaves the surrounding trim visible. It needs enough usable depth for brackets, cassette and fabric movement. A window may look deep but have a projecting handle or angled trim that reduces the practical space. Check the selected system's minimum depth and fully recessed depth separately.
An outside mount covers the opening from a fixing position on the frame or wall. It can suit shallow or uneven openings and can increase overlap for privacy. It does not automatically create total blackout: the fixing position, overlap and gap between fabric and wall still matter. Check for solid fixing points before deciding the final coverage.
| Check | Inside mount | Outside mount |
|---|---|---|
| Measurement basis | Actual opening at several points | Planned finished coverage area |
| Depth | Must meet the product's hardware requirements | Needs projection clearance and suitable fixings |
| Trim | Usually remains exposed | May be covered or used as a fixing surface |
| Light gaps | Fabric may be narrower than the hardware | Overlap can help, but does not guarantee blackout |
| Ordering size | Follow manufacturer deduction rules | Confirm finished size and fixing positions |
Step 1: label the opening and choose a measuring tool
Use a firm steel tape where it is safe to do so, with a notebook or phone record for each opening. Label the window by room and position, such as living room left or bedroom north. Keep widths and heights in a consistent unit. A clearly labelled record prevents two similar windows from being accidentally exchanged during quoting.
Photograph the whole opening, then the handles, trim and intended fixing surface. Include anything the shade must clear, such as a patio slider or a radiator. Do not climb onto furniture or lean over a stairwell to obtain a measurement. A rough photo is more useful than an unsafe attempt to produce an exact number.
Step 2: measure and record the inside width
Measure the opening across the top, middle and bottom, keeping the tape level. Record all readings rather than only a rounded average. The narrowest part matters for many inside-mount systems, but the final ordering size and any allowance depend on the product. Some retailers apply deductions themselves; others request a finished size.
Do not subtract an assumed universal amount from the opening. A roller's cloth width may differ from the bracket-to-bracket width, and different cassette systems have different allowances. If your quote is only preliminary, send the recorded measurements and say clearly that they are opening sizes, not a manufacturer-approved finished blind size.
Step 3: measure height, usable depth and obstructions
Measure the height on the left, centre and right. Note whether the sill is level and whether the fabric must stop at the sill or continue lower. Follow the selected system's instructions for which reading becomes the order height. Vertical blinds and roller shades do not necessarily use the same height allowances.
Then measure usable depth where the brackets will sit. Check projecting handles through their full movement, locks, screens and opening panels. In an older Whitby or Oshawa frame, trim may narrow the usable recess. A cassette that fits at the top can still leave the fabric rubbing a handle lower down, so inspect the entire travel path.
Step 4: check the opening for unevenness and moving parts
Measure both diagonals if it is safe and practical. A difference indicates that the opening may be out of square, but the acceptable tolerance is product-specific. Record what you find and let the installer decide whether an inside mount, outside mount or another arrangement is appropriate. Do not assume a large opening can hide a poor fit.
For patio doors, operate the moving panel and handle while imagining where the shade and brackets will sit. For bay windows, check adjacent corners and cassette projections. Treat each bay panel as its own measurement and record the angle context with photos; neighbouring units can interfere even when each separate panel measurement appears correct.
Step 5: define an outside-mount coverage area
Start by deciding where the top fixing will sit and where the lowered shade should end. Measure the intended covered width, including any planned overlap beyond the opening. Check switches, adjoining walls, cupboard doors and furniture before choosing that overlap. More width is not helpful if the shade then blocks another everyday movement.
Confirm that brackets can be securely fixed to an appropriate surface. If you want improved darkness, discuss side channels, overlap and fabric projection together rather than adding an arbitrary amount to the width. Write down the coverage dimensions and fixing location separately so the person quoting knows exactly what your measurements describe.
Step 6: review measurements before custom manufacture
Compare your notes with the window photos and verify the units, room labels and mount choice. Ask the supplier to explain which dimensions describe the opening, finished hardware and fabric. Review any deduction rule in writing. A custom order should not depend on an unspoken assumption about what width means.
For homes in Pickering, Ajax, Whitby and Oshawa, our free in-home consultation provides an alternative to doing that conversion yourself. Hayati checks each opening and the selected system before an order is approved. Send your photos and preliminary notes if helpful, but allow the final measurements to be taken with the installation plan in mind.
Get my price range
Three fields, instant installed price range from our published pricing — then send it straight to Hayati on WhatsApp. Typical reply time: under 1 hour.
Related products
Local service across the GTA
Frequently asked questions
- Should I deduct anything from an inside measurement?
- Only according to the selected supplier's written rules. Some apply their own deductions, while others ask for finished dimensions. Keep the original opening readings.
- How much overlap does an outside mount need?
- It depends on the fabric, projection, opening and obstructions. Confirm a planned coverage area rather than using one universal overlap for every window.
- Can I measure a tall stair window myself?
- Do not use unsafe ladders or furniture to reach it. Send a photo and arrange professional measuring and an access assessment.
- Are all the bay panels measured together?
- Measure each opening and record the corners and angles. Hardware on adjoining panels must clear itself and the window operation.
- Does Shine & Shadow measure for free?
- Yes. Free in-home consultation and measuring are available across the GTA, with the owner checking the product and mounting requirements.
About the author
Fatih writes for Shine & Shadow about practical window-covering choices. For measuring and installation, speak directly with Hayati, the owner-operator based in Ajax and serving homes across the Greater Toronto Area.
About Shine & Shadow →Get a Free Quote on WhatsApp
Send a photo of your window and get an estimate within 1 hour.